As our world becomes increasingly connected, the need to understand and protect the environment has never been more important. From wildfires and air pollution to soil conditions and water quality, environmental factors directly impact our health, our homes, and the future of our planet. But what if you could track those changes—right from a remote mountain trail or a community garden—without relying on cell towers or Wi-Fi?
That’s where Meshtastic comes in.
What Is Meshtastic?
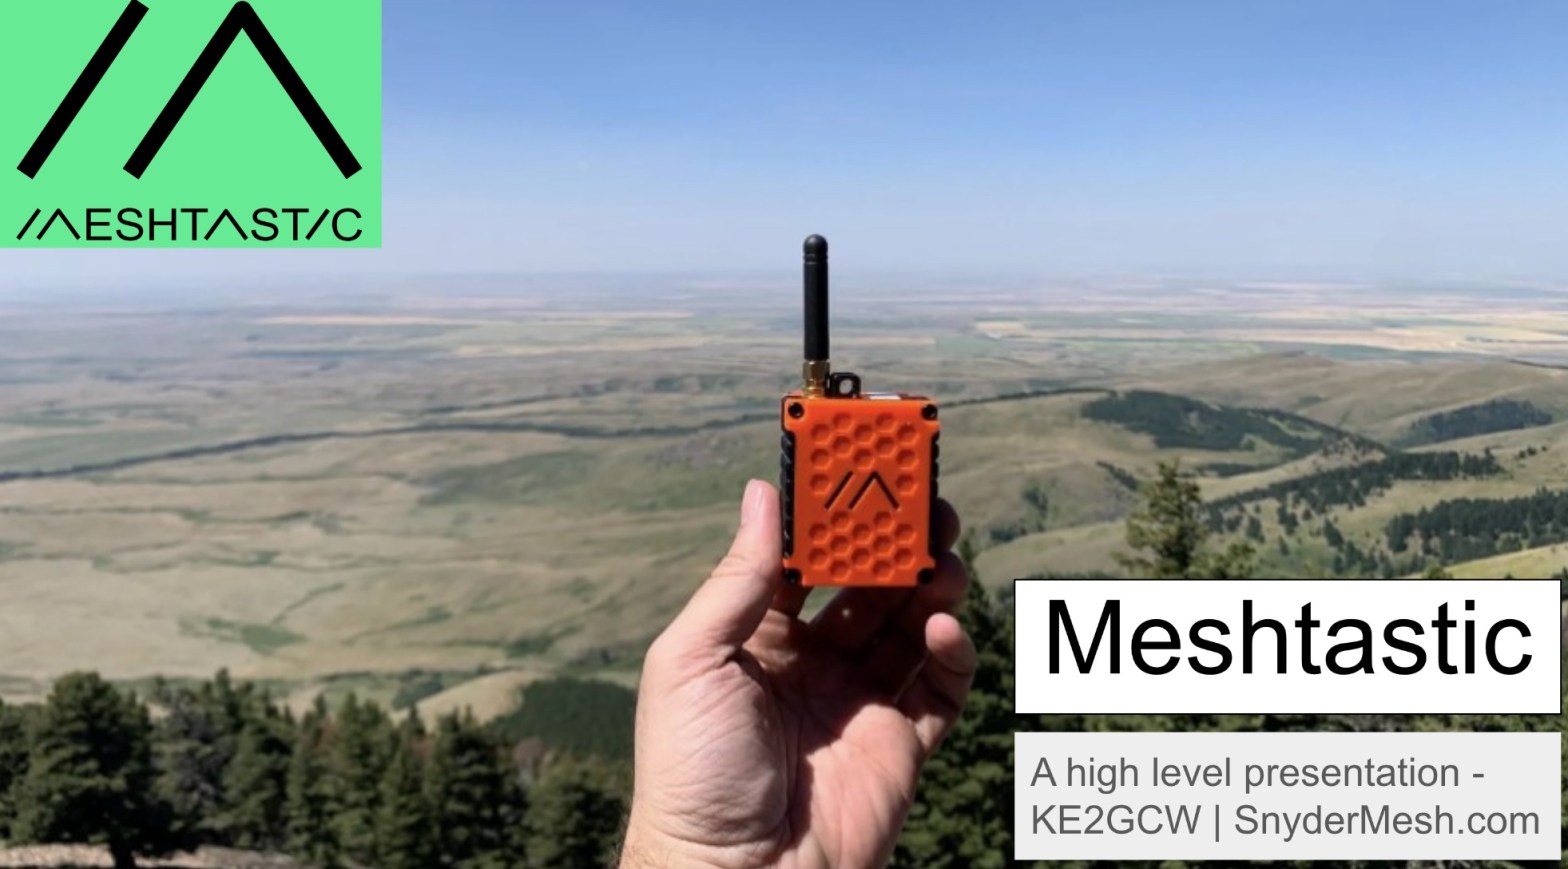
Meshtastic is an open-source, low-power radio communication platform that uses LoRa (Long Range) technology to connect devices in areas without traditional internet access. Think of it as a walkie-talkie for data, not voice. People often use it to stay connected while hiking or during emergencies—but it’s also becoming a game-changer in the world of Internet of Things (IoT) for environmental monitoring.
How It Works for Environmental Monitoring
Environmental monitoring typically requires gathering data from remote areas: forests, farms, wetlands, or even urban neighborhoods with poor infrastructure. The challenge is getting this data back in real time or storing it reliably—especially when there’s no Wi-Fi or cell service.
Meshtastic solves this by using a mesh network: each device (called a node) can send and receive data from others nearby, relaying messages through the mesh until they reach a base station or central device. That means your sensor on the mountaintop can send temperature, humidity, or air quality data back to someone miles away.
Here’s a simplified breakdown of how it’s used:
- Sensor devices: Attach environmental sensors (like for air quality, temperature, soil moisture, or CO₂ levels) to a Meshtastic-compatible microcontroller (e.g., an ESP32).
- LoRa communication: The sensors transmit data via LoRa to other nodes in the network.
- Data relay: Nodes pass data along the mesh until it reaches a collector device—like your phone or a Raspberry Pi gateway.
- Visualization: From there, data can be uploaded (if internet is available) to visualization platforms like Grafana or even SMS alerts.
Real-World Examples
- Wildfire Detection: Communities are experimenting with Meshtastic sensor nodes to track sudden rises in temperature and air particulates in dry, forested areas. These nodes can provide early warnings—even in places off the grid.
- Smart Agriculture: Farmers use soil moisture sensors connected to Meshtastic to get real-time updates on field conditions, helping them water more efficiently and increase crop yields.
- Air Quality Monitoring: Environmental groups and citizen scientists deploy portable air quality monitors connected to Meshtastic, gathering local data on pollution that can inform public health decisions.
Why It Matters: Scientific and Social Benefits
- Real-time insights: Data can be collected and acted on quickly, helping prevent disasters or optimize resource use. Community empowerment: Local groups can monitor their own environments without relying on government infrastructure or expensive private systems.
- Decentralized and resilient: Because it’s not dependent on cell towers or the internet, Meshtastic keeps working when other systems fail—especially critical during emergencies.
- Low power, low cost: Devices can run for weeks or months on a battery, and the hardware is affordable for most people or small organizations.
The Future Is Mesh
The fusion of Meshtastic and environmental IoT is still growing, but it’s already proving that everyday people can participate in science and sustainability. Whether you’re a homesteader tracking rainfall, a hiker monitoring wildfire conditions, or a student building a weather station, Meshtastic offers a flexible, community-driven solution.
At SnyderMesh.com, we’re passionate about enabling these kinds of projects. Whether you need help building a node, setting up sensors, or expanding your mesh network, we’re here to support your mission.
Want to start your own environmental monitoring project with Meshtastic?
Check out our guides and gear recommendations at SnyderMesh.com and join the conversation with other citizen scientists making a difference—one packet at a time.
Stay connected. Stay informed. Mesh responsibly.